User Guide
The Jupyter ecosystem is huge, and one can find plenty of resources across the internet to learn Jupyter or solve a particular problem. Thus, this guide focuses on topics that are not covered well in the existing documentation.
Access S3 resources (e.g., from Coscine)
Analysing data is a typical use-case for the Jupyter service. However, this data might not be available locally for upload nor easily downloadable from the internet. To access, for example, object storage (S3), Jupyter-fs has been installed, currently in the experimental images datascience-ai-notebook and engineering-toolbox.
Setup Jupyter-fs for S3
-
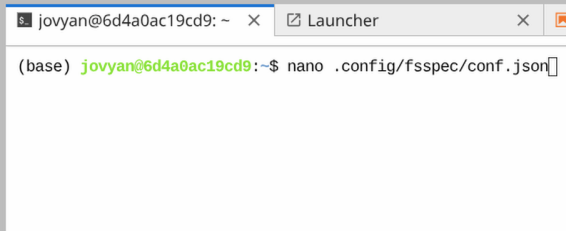
Open a terminal and create a file
conf.jsonwith the structure below. Save the file under.config/fsspec/.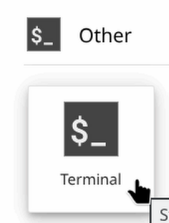
You have to change all the variables marked with
<>with the specific values that match the s3 resource you want to access. For example, Coscine commonly uses theendpoint_urlofhttps://global.datastorage.nrw:443/. You can also reference the Coscine documentation for details.conf.json{ "s3": { "endpoint_url": "<your-s3-endpoint-url>", "key": "<your-credentials-key>", "secret": "<your-credentials-secret>" } } -
Go to
SettingsSettings Editorand choosejupyter-fsfrom the left sidebar.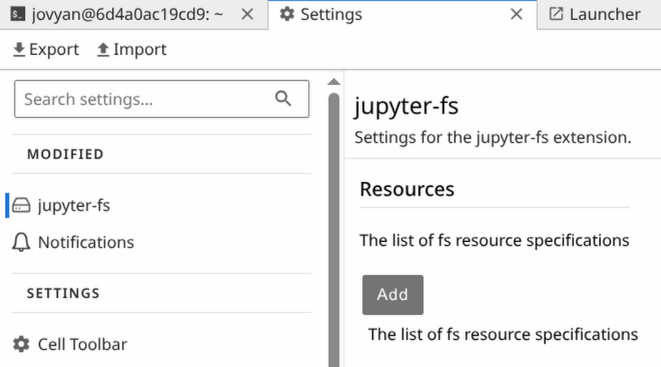
 Click on
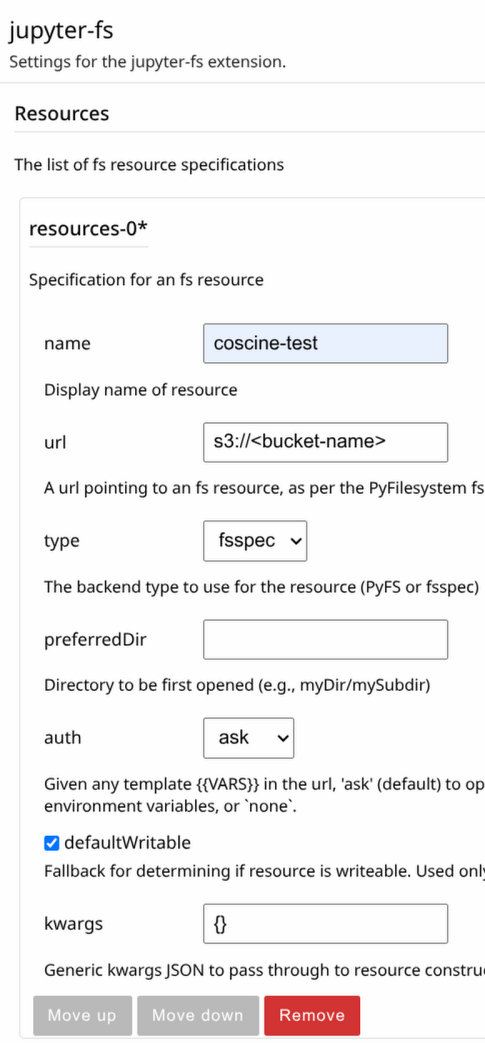
 AddunderResourcesand fill out the fields:- name: Can be any name for the remote storage.
- url: The left part (before
://) specifies the protocol to access the remote storage. In this case, it is s3. Besides, there are various other protocols available, e.g., local storage, FTP, SFTP and ZIP. For a full overview have a look at the fsspec documentation and the links therein. The right part (after://) contains the bucket name, optionally followed by any further path to shrink the results. - type Has to be
fsspec. It is the only backend currently installed. - preferredDir and auth: Can be ignored for s3.
- defaultWritable: If set, ensure to configure key and secret for write access in step 1.
- kwargs: The configuration made in step 1 holds for every s3 connection. If this is not applicable, e.g., due to several resources to different s3 storage system, you can give the parameters individually for each resource in the kwargs JSON. Note, due to auto saving and the small input field, it is recommended to copy and paste the kwargs JSON.
After configuring, a new filesystem should appear in the left sidebar. Click on it to explore the remote storage resource. It can take some time to load, depending on the connection speed. Files can be opened via double click or right-click
Open Withfrom the context menu.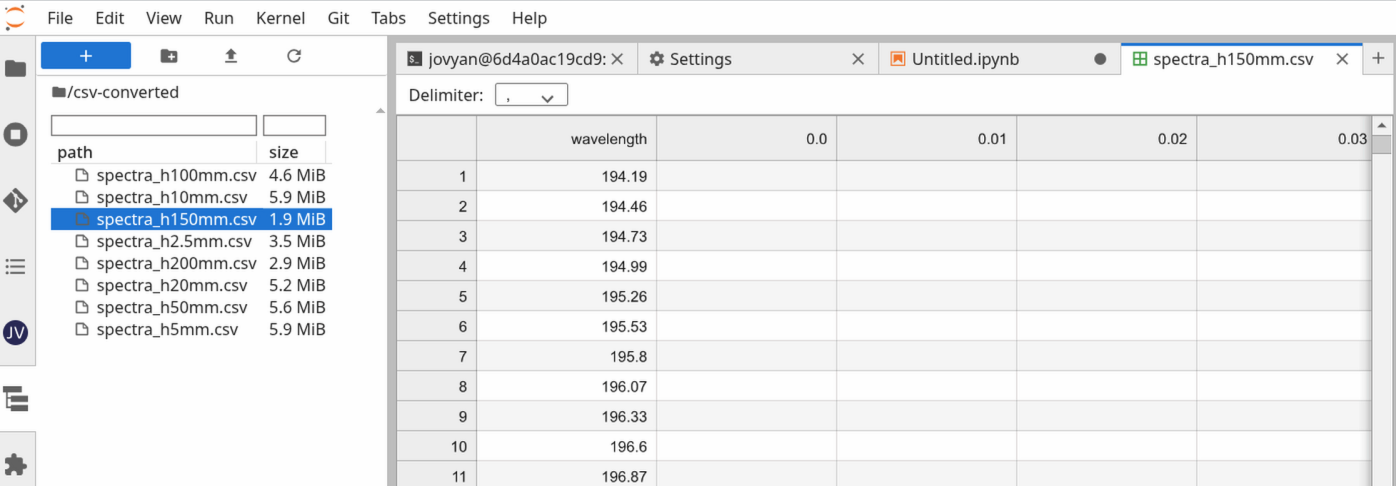
Info
Configuring even local filesystems via Jupyter-fs / fsspec is especially advantageous over the built-in Jupyter
filebrowser for huge amounts of files (several hundred). However, the approach focuses on browsing and getting an
overview of the files, not on copying or complete downloading. For the latter a differnt appoarch based on rclone
will be available in the future.
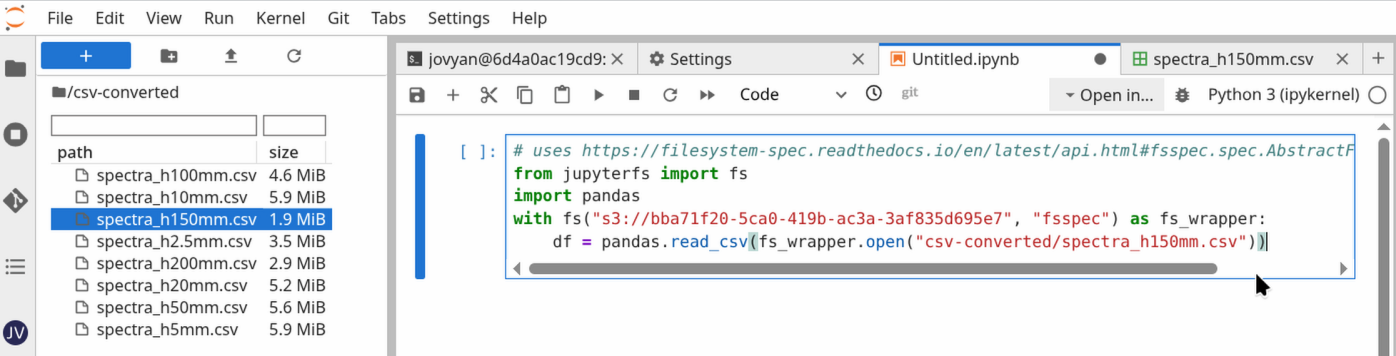
Interacting with Jupyter-fs in a notebook
To interact with the configured remote storage resource inside a notebook, Jupyter-fs provides snippets to get started.

Right-click on a file, select Snippets and then the action to perform.
After clicking, code has been copied to the clipboard that can be pasted in a code cell, e.g., by middle-click or Crtl + V.
Then you can run the cell, modify parameters etc. and continue to analyse your data.
For more information what can be done, see the fsspec-documentation.